Word has the ability to automatically format Table of Contents pages (TOC), based on preformatted headings through your document. The formats used for the headings must be recognised by the use of the “Style”. As you create each heading by allocating a style to it, you can change the format which it then has applied. However, if you have certain formats which you always want to apply, e.g. The “Heading 1” to be a different size font by default, then the following procedure outlines how to make that change.
The changes here can be applied to this session only, or later in the steps, we show you how to store them so that they are always applied on your computer.
1. Start by opening Word, and then from the Main Menu, choose Format | Style. This will present you with the following dialogue box.

2. If it is not already showing, choose “All Styles” in the List.
3. Scroll through the styles presented, and click once on the Heading that you want to change.
4. Click on “Modify” to modify the style settings. This will present you with
the following dialogue
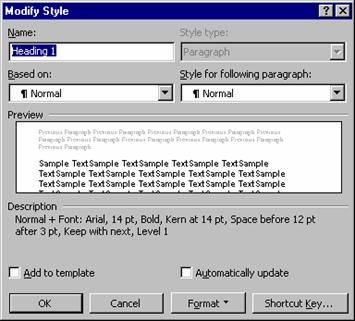
box.
5. Confirm the Style name is the Heading you have selected. Then click on “Format” and choose “Font” from the pull down list presented. This will present you with the following dialogue box.
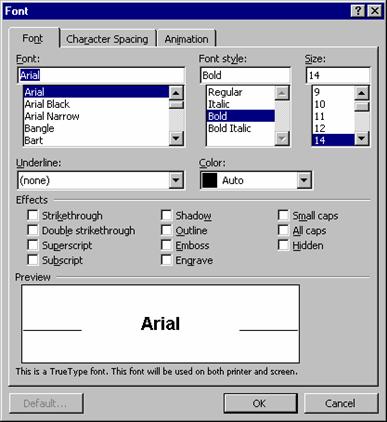
6. Click on the font size, style, color etc that you want to be applied to the heading, and choose OK. This will change the heading default while this session of Word is open.
7. If you want to make your change permanent each time you start Word, then from the Main Menu, choose Format | Style to get the first dialogue box, and then click on “Organizer”. This will present you with the following dialogue box.
8. Click once on the “Style” that you have changed and want to save, and click the “Copy” button. This action stores the setting in a file called “Normal.DOT”. This file is used by Word to store these types of things.
9. Click on the “Close” button.
Note: If you want to remove the change, then use the
“Delete” button in the above dialogue box.